Design first, then drink!
Isn’t it so cool when you go to a coffee shop, order your ‘go-to’ coffee beverage, and the barista gives you the coffee topped with an elegant looking design on it? It makes you feel kind of fancy, doesn’t it? Well, guess what! You don’t have to be a professional barista to create your own coffee art! Brew your Velo coffee and get ready to be your own barista!
Here we go! Pour cold milk into your steam pitcher. A helpful tip is to chill your steam pitcher before you use it. You should try to heat the milk just below boiling, and then use your handy-dandy thermometer to know when you should remove it, which is when it reaches 65ºC – 68ºC! Aim for small, light bubbles (microfoam!)
Give the milk a few seconds to settle to give it more of a velvety texture and then swirl it! If you notice any bubbles starting to form, pound the pitcher on the counter a few times before swirling for 20-30 seconds.
This is a VERY important step – pull (this is just a fancy word for make or brew) your espresso! The ideal espresso shot takes around 30 seconds from start to finish! Transfer the espresso into a larger coffee mug, and don’t let the shot sit for more than 10 seconds before adding the milk!
Now it’s time for the fun part!
Start the pour a little high until the cup is nearly half full, and then lower the pour so it is close to the crema to make the foam appear. Move from high to low and make sure to pour at a steady speed.
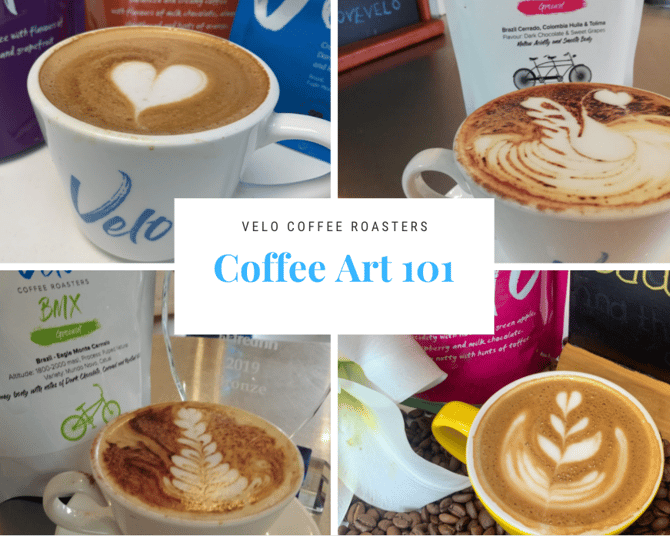
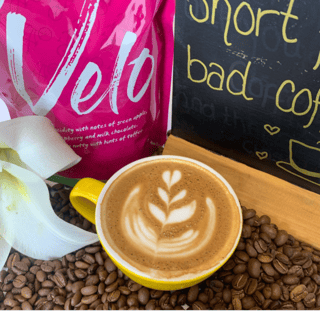
To create a leaf or rosetta pattern, pour the milk as you move the jug from side-to-side until the foam appears on the surface. While moving sideways, slowly move the jug backwards as well. When you get to the end of the coffee cup, move the jug in a QUICK straight line through the pattern! Quick side to side movements will result in a rosetta with many leafs, while slow movements will create fewer, thick leaves.
To create a heart pattern, pour the milk to one side of the cup. Continue this until you create a big circle of crema. Move the jug slightly forward and continue pouring on the big spot of foam until the cup is almost full! Finish the heart by pouring a quick straight line forward! How lovely does that look!?
Get your coffee ready for the summer too with flower art! Pour the milk about 1 inch from the bottom of the cup. When the cup is half-filled, shake the pitcher GENTLY back and forth while slowly moving back! Pro tip: the design comes out the best when shaking your wrist back and forth instead of just your hand!
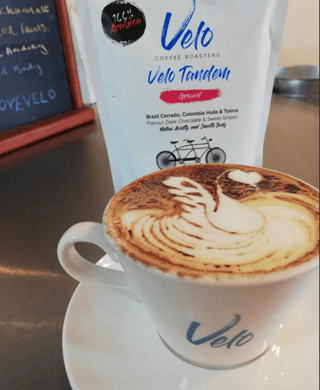
If you’ve perfected the rosetta, you should challenge yourself to make a swan! To make swan coffee art, simply create the rosetta with the foam but don’t put a line through the pattern! Instead, pull the foam along one side of the rosetta to create a wing. When you finish the wing, drag the pitcher towards you to make the neck. When you reach the top of the cup, bend the swan’s neck into a U-shape. Finally, once you’re at the top of the cup, move the pitcher close to the coffee and pour a mini heart! Voila!
What’s the worst that can happen?! You make a mistake and have to make another cup? In that case, maybe make a few mistakes! There’s plenty of Velo coffee to go around!
.png)
